Passionaltycrafty

Friday, June 10, 2016

Here is this months Craft for tomorrow!

 This is the Box Album we will be creating your paper pack will be different but you get the idea.
 As you remove the lid, the sides of the box drop flat to show the pretty album inside.
 We will be using rescycled boxes for the base chipboard and covering the pieces in black card stock.
 Then you can add your own touches and ideas or take some from the sample.
 Flaps and pockets are fun to use.

  Side flaps!
 Top flaps! You be creative and add your own style. Use the papers I provided or use something you love.
Here you can see how the album sits inside the box when the sides are up ready to add the lid.
I really enjoyed figuring this one out. Hope you will join us tomorrow and create one of your own.
Marye Bird
Passionatlycrafty.blogspot.com
Text 817-999-8223 to reserve a seat.

Tomorrow is the night to have fun and learn new crats!


Here is the card we will be creating Saturday night at the "Bird House". It is called a "Double Z Card". 

I have used stamps to create the flowers and then fuzzy cut around them. I added a sweet pearl sticker in the center of each one. I used a Martha Steward large bunch for the butter fly and then a small Fisker's butterfly punch for the smaller layered butterfly and added three small pearl stickers for the body. The scalloped flower is Ek success large punch I made two in different colors and layered them then put a circle made with my Cricut and then stamped my sentiment. Than just under the sentiment I stamped a floral pattern and then used my circle punch to cut it out and layered that on the larger circle. I used a foam square to attach it to the card just above the band.
The band is in two pieces. I stamped the two smaller layers of the band and the flowers are attached to the rest of the band area. I fuzzy cut three of the smaller flowers and added them to the card with small pearl sticker. Then I stamped another sentiment to the white layer of the card. This was a fun card to make and would be great for anyone you wanted to make their day.

Hope you enjoy making this card with us. 
Marye Bird
Passionatlycrafty.blogspot.com
text at 817-999-8223 to reserve your seat.

Monday, March 28, 2016

Craft & Crop at the Bird House, April 9th 2016

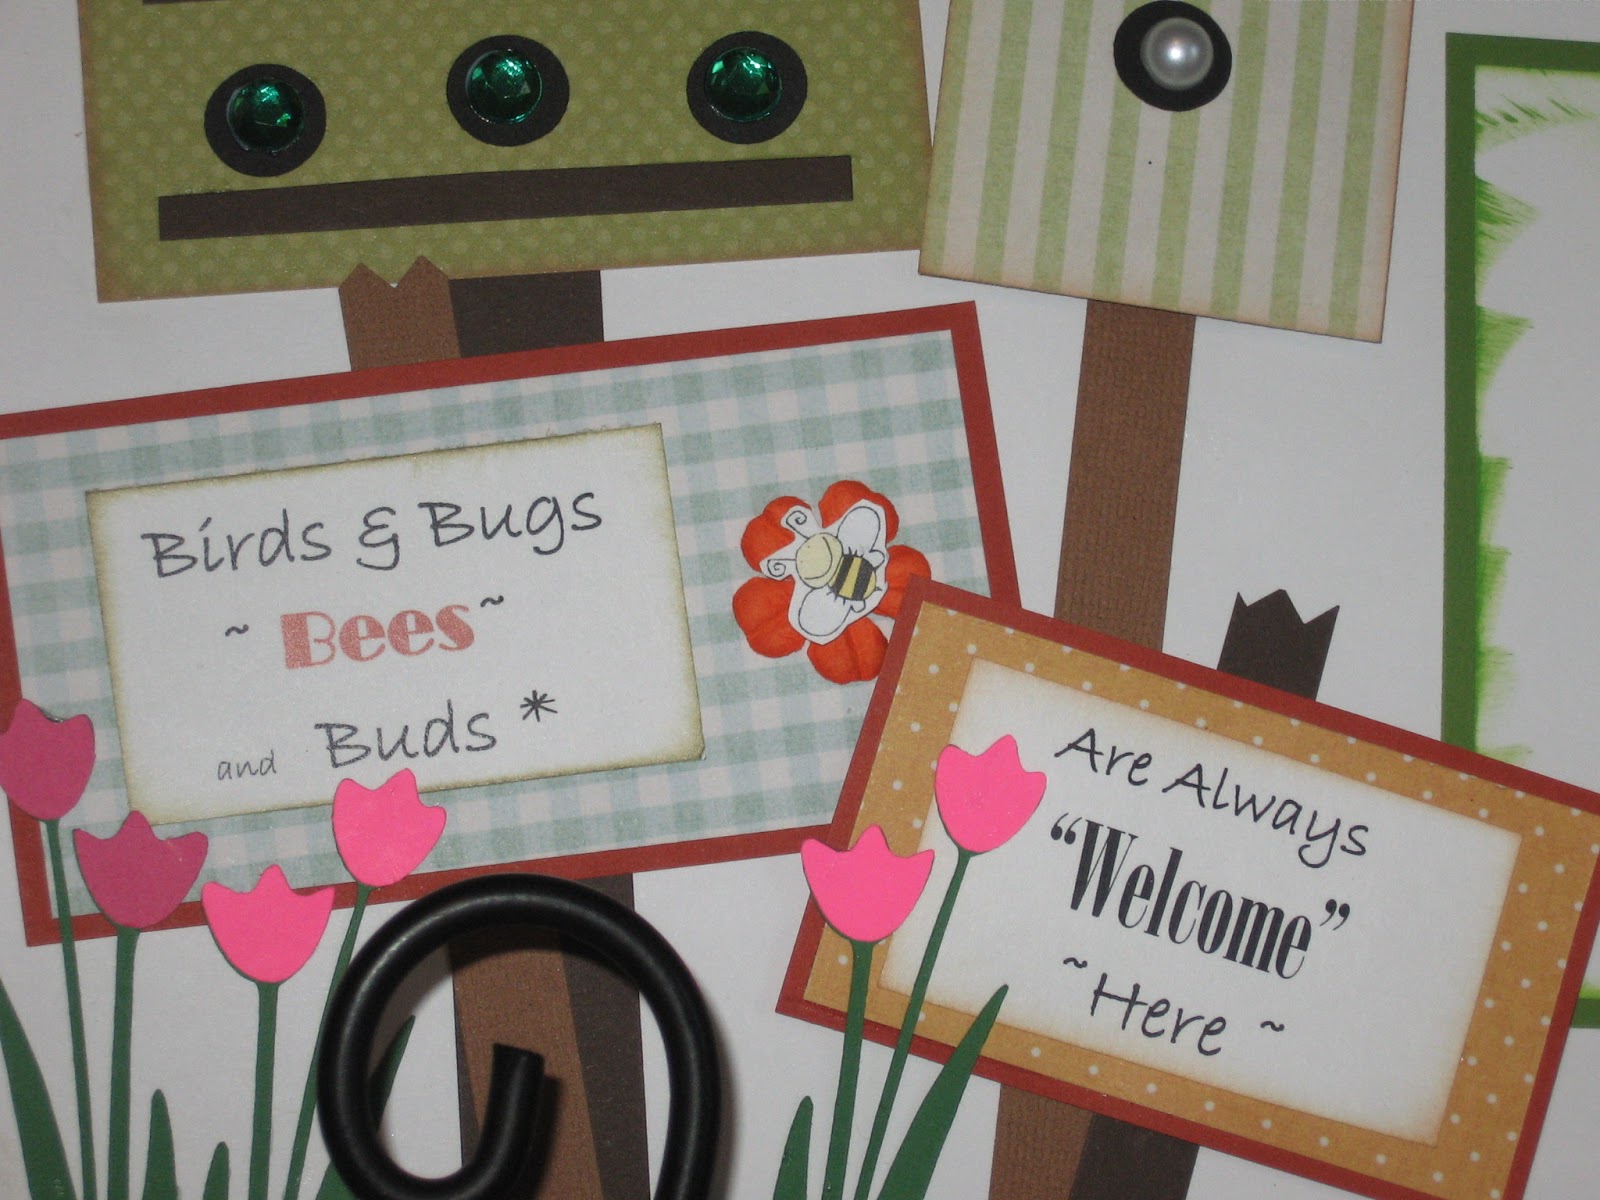
 Here are the two pages for our Scrapbooking kit we will be working on. I do love the garden and working in it. Everything is new and fresh, the birds, buds and bees are out, it's new life. I used Walk in My Garden and Freshly Picked Cricut cartridges and the rest is cut by hand. :-)
 The tulips are from Walk in My Garden as were the pots.
 The layered Bird houses I made by hand. I was inspired by a small note pad that was given to me. The Bird came from Give A Hoot Cricut Cartridge.The hearts came from a Fiskers punch.
 The sun is made large enough to use for a picture frame.
 The two little signs were also from the note pad, I just added some personal touches.
 I have used this phase before but I love the Idea behind it. Grow where you are planted came to me from a inspirational card from a friend. She said no matter where you are or what is going on in your life. Grow where you are planted. God has you there at that time to glorify his name. It is his plan, go with it!
I would love to live in a big wonderful beautiful garden. When winter comes everything dies or falls asleep, but when we go to live with our heavenly Father, the garden will live forever. I am looking forwards to that day!
Well there ya go. I have some new guests who are going to join us, so please text me or call me to let me know to reserve you a seat. only have 10 left. 817-999-8223 call or text. See you there.
Marye Bird
passionatlycrafty.blogspot.com
bdmebird@yahoo.com
817-999-8223

Sunday, March 6, 2016

March Craft & Crop #3 Project (Pages)

Here are #3 Project (Scrapbook pages) we will be creating for our March Craft & Crop at the Bird House.
The Them is Special People in our lives.

Here is the finished pages. I used some wonderful papers I have been saving just for this.

I used the cute flowers from last months craft project to embellish these pages and large brads to give it that sun flower look.
These pearl stickers are one of my favorite embellishments. It gives any page a feel and look of elegance.
Some more embellishments from last month. I love the look.
I found this on Google and fell in love with it. It says how I feel about the special people in my life.
Well there ya go girls. Hope to see you March 12th at my home for "Craft & Crop at the Bird House". If you wish to join in on the fun, text me to reserve your seat. Only have 11 spaces. 817-999-8223. Leave your name and number. See you there!

Monday, February 29, 2016

Craft & Crop at the Bird House #2 Card Project

This is called the pleated Skirt card 

I found this card on Splitcoaststampers.com and thought it was so cute. So here goes.
Here are all the  items you will need.
I took a A2 card and used a corner punch on all corners.
I cut a patterned piece at 7 3/4 long by 3" I scored it at 3" ,3 1/2, 5", 6 1/8" and folded it in like a fan.
Than I cut another piece of the patterned card stock at 3/4" by 3". Shown below

I cut this little ribbon and seal from Plantin Schoolbook Cricut Cartridge on page 77 set the gray buttons on Roll Poly, Shift and set the size at 2 3/4. I cut two of them and then took one and cut the ribbon off. this I layered on to p of the other and then took a 3/4" circle from the same cartridge and stamped a design with a Birthday sentiment on it.

The Stamp is a circular design by Stampin Up. I used  the same brown ink that I used to chalk all the edges of every piece of my card.  After I put the card together using a foam sticker to attach the ribbon with, I took the Inkadinkado stamp block that was sent to me by eksuccess to try out and give my opinion. 
Here is a close up of the pleated section. Remember to chalk everything before you put it together.
I placed a Happy Birthday rubber stamp on it and stamped the left upper corner of my card. 

Here is the sentiment I chose for the inside of the card. Hope you have fun creating this cute card. Better yet come join us on March 12th at 6:30 at my home and create it with us just text me to reserve your seat. 
817-999-8223


Thursday, February 25, 2016

Our Craft & Crop project #1 of 3 Decorating a 6X9 Clip Board


I have been wanting to do this for a while now and you can find many examples of ways to decorate a clip board, but my favorite one is this style. You can use it as a note pad or you can put a photo in place of the not pad and hang it on the wall. I have made this one for my granddaughter and she loves it


I purchased thes words made from wood from Micheals Crafts. (1.50 eh)
my granddaughter chose Hello for hers. You can also cut the word you want from your cricut cartride, if youcut it twice you can layer it and make it look just like the wooden one I used

for the hole in the top of the clip on my board I used an assortment of matching ribbon I had in my stash. I also used some white lace that was given to me. I cut each piece about 7" and them trimmed if needed.

I used three gems plastic gems

I chose flowers for decorating the middle strip of paper from some I had on hand that I purchased from the 1.50 bin at Micheals.

The Large yellow flowere attached to the clip I made from cardstock. I love these flowers and you can make them any size. It comes from the cricut cartridge Plantin School I used 3 of them to make this flower.

I cut printer paper at 4" X 5"

I punched to holes at the top center and put yellow ribbon and tied in the back and trimmed and then put under the clip.

The cardstock I used for the top section was 6X6
The bottom piece was 6X3 and I butted them up together and then added the center strip to cover the seam. Before I attached the center strip I punched a sweet trim (2) from a new Martha Stewart punch I purchased on sale at Micheals Crafts. and added it to the top and bottom of the center strip and placed it where it was pleasing to the eye. I chalked everything. I cut the corners with an exacto knife and sanded around the entire board and then chalked it. I love the way it came out, I hope you enjoy trying it yourself. Or come to our next Craft & Crop March 12th at my home and make it with us.
If you would like to join in on the fun text me for more information. 817-999-8223

Wednesday, August 5, 2015

August "Craft & Crop at the Bird House

Here are two of the 4 projects we will be creating for our August event. Remember that we will be meeting on Aug. 22 at our regular time, instead of the 15th. Bring something of your own to work on in case you finish and still have time left.
Here is the first project.
This is a cute basket that you can use as a center piece or give to someone filled with gifts. Cookies would come to mind. You be the judge. I found the template for this basket on Splitcoaststampers and enlarged it (double). I made center pieces for a picnic theme at work for our Family Event we will be having tomorrow.
Next is the second project. I have been wanting to create this one for some time now.
 
I also enlarge their template on my printer using 150%. This is a cute backpack. It was for a gift card but I thought it would be cool larger and you could put a treat for the teacher or some school supplies as a gift. The ideas are endless.

This took 3 patterned papers, black and white ribbon, brads and Velcro.

Here is a view of the back.

Here is a view of the top when it is open. There is also a pocket that can be opened and something like a card or gift card can be tucked away there. I will post the other two projects when they are completed. Hope you will join me we will have a blast. I am looking forward to hearing from you for a seat count. 
Marye Bird this is my Cell you can text me if you are planning on coming so I can reserve you a seat.
817-999-8223
Or email me here.