Passionaltycrafty

Friday, February 7, 2014

Check out our pages for February 22 "Craft & Crop" at the Bird House

This is our pages I created using Precious Moment images. I used a Martha Stewart edge punch I just purchased and cut the clovers from colored and glittered card stock and my favorite tool the Cricut and the cartridge A Childs' Year. All of the other embellishments I printed from my computer and some of them I framed. I loved finding all of the sweet Irish blessings and the wonderful cross I used is dedicated to our preacher who sends us home each Sunday with this loving blessing.

 
Our first page I added some silver glitter paper to frame most of the blessings my image of the little red head and the waiting picture area. I added a few rhinestones to give it a little more bling. I used some foam stickers to add dimension to some of the embellishments.
 
The second page has this adorable little boy and his best friend and buddy. I used some pretty lace, Glitter paper for the frame and gold clovers a few foam stickers to add some dimension.
Simple and cute.
 
I love this quote I found on a card I saw on Pintrest. You can use it anywhere on anything. What it says is so true.
 
I was delighted to find this Irish cross. When I read it I was surprised. This is the quote our preacher leaves us with at the end of each service! I love it and did not know that it was an Irish Blessing.
 
 
These are some other Irish Blessings I found, you can print them on your computer and use any of the cute fonts that are available.
 
A few more blessings. This was a fun page. It took me a while to create it because there is so much stuff I wanted to use, I couldn't make up my mind. I hope you enjoy it and for those of you who are coming to "Craft & Crop" I can't wait to create it with you.
 
Remember, we will be having another event in March, so don't forget to request your spot.
Thank you for coming over to Passionatlycrafty to share ideas.
Marye Bird
Passionatlycrafty.blogspot.com
 

Wednesday, February 5, 2014

Something New at Jo-Ann's

Jo-Ann has started something new and I am excited about it. Any group of people can reserve the Education room for any event they would like. It costs nothing!! All you have to do is check with the Education Coordinator (That would be me at the Hurst store) and if there is no class scheduled during that time period that you need, it is yours. I have a great classroom. I already have the "Bow Dazzling" group meeting here every first Sunday from 3:00pm-6:00pm every month and we have made this a permanent meeting time for them every month. If you would like to volunteer time, this is a great way to do it. It benefits cancer patients (young ladies), they have all the supplies made up into kits and you come and they teach you how to make hair accessories that are donated to these young ladies with cancer and other serious illnesses. I took my granddaughter and a friend of hers. They had a great time. I think it is important to teach our young people the value in helping others. It will helps build good character.  So, if you have something you need a room for call or come see me and we can make arrangements to reserve out room for you. Please pass this on to friends and groups you know.

Jo-Ann's number:817-590-2672
Ask for Marye or Candi and If we are not there, make sure they take a message with your name and number so we can call you back.
Marye Bird
passionatlycrafty.blogspot.com

Tuesday, February 4, 2014

"Craft & Crop" at the Bird House Feb. Projects

February 22 is the date for our next "Craft & Crop" at the Bird House event. We again have a full house with a waiting list. I am so excited that so many ladies are enjoying our time together. Here is the list of ladies, if you need to cancel for any reason let me know asap so I can call those on the waiting list.
Debbie Y
Sue P
Pamela
Edna
Edan's Friend
Deniz
Carmen
Rita F
Rita's Friend
Sondra M
Candi S

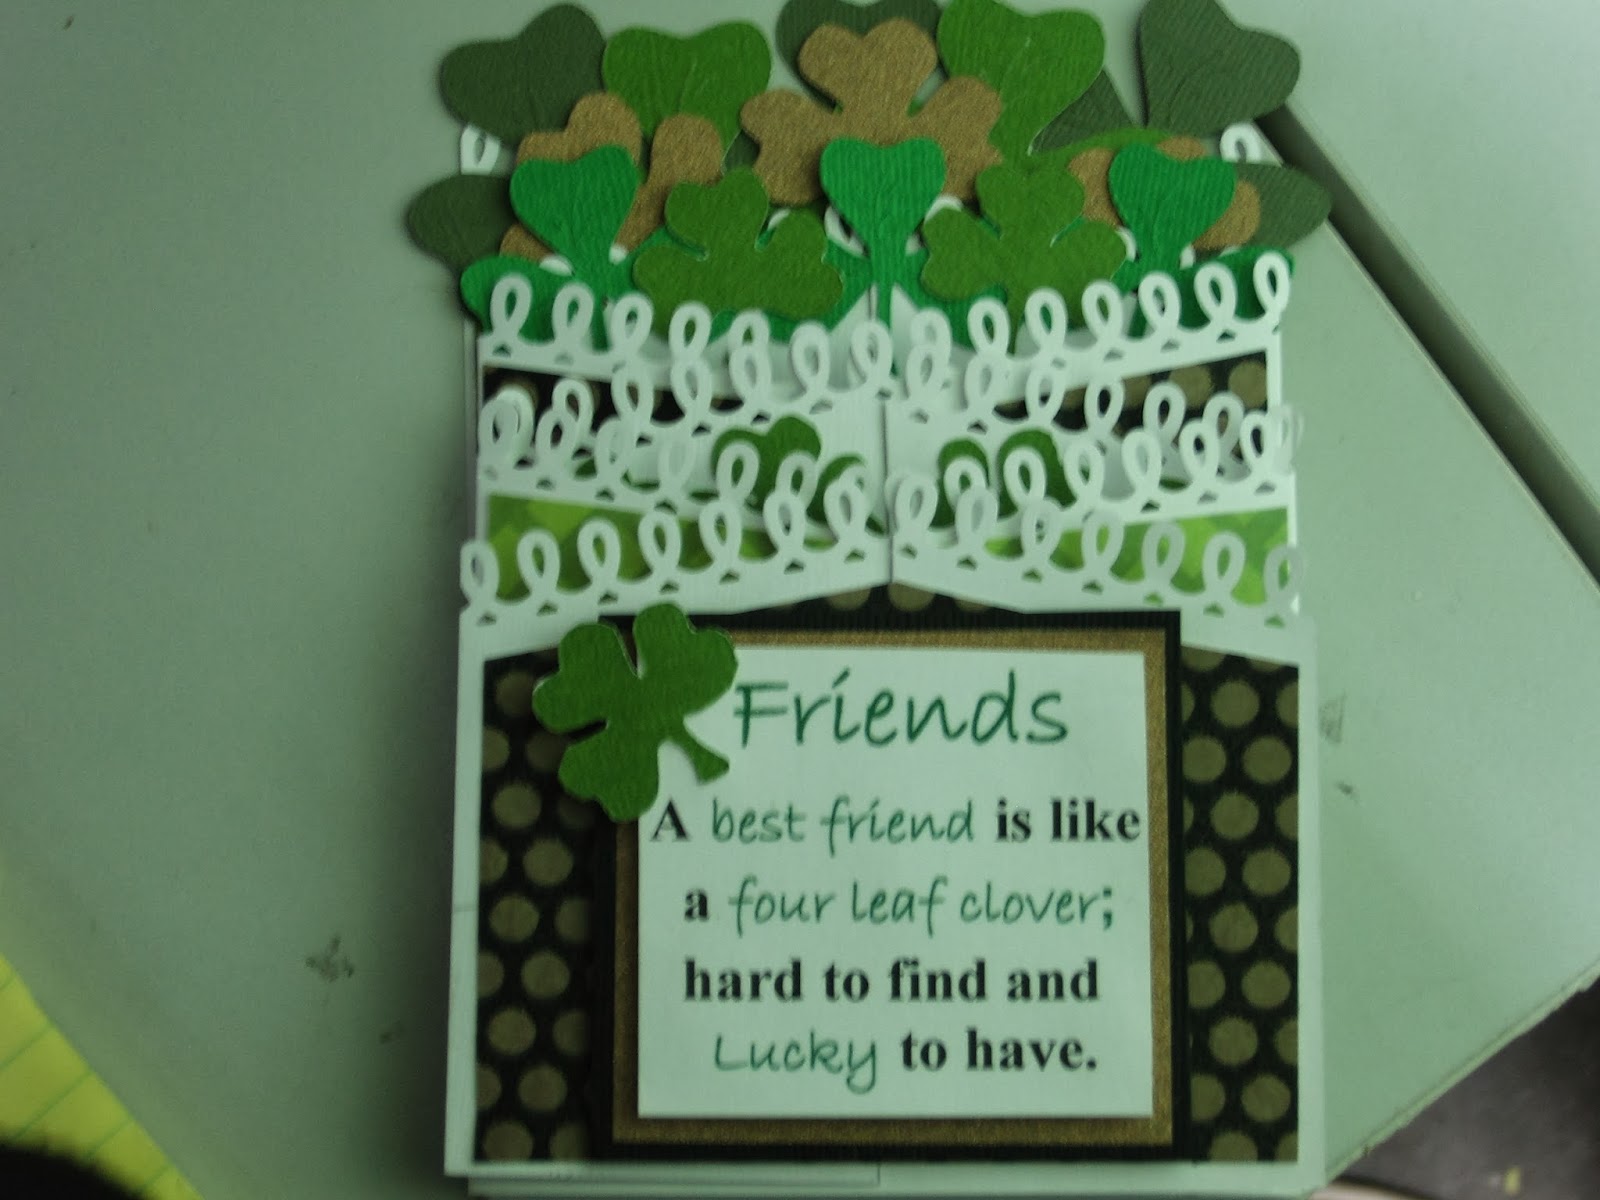
Here is the card we will be working on: This is called a cascading card. You can make the base card and decorate it any way you like for any theme you want. Since our theme will be St. Patrick's Day, I have decorated appropriately.
This is how it looks from the front.


This is a view from the side. I will have the instructions available at our Feb. event.
 
This card will fit in a regular card envelope with a little room to spare.
or you can put it inside of the Card Holder which is our craft project for our Feb. event.
I can't wait to see you there, Don't forget your dish to share.
Marye Bird
passionatlycrafty.blogspot.com


Saturday, January 18, 2014

I Want To Share!

I found this idea from another crafter and I loved it! I wanted to share it with you. She is from another country and I could not read her instructions, but she makes some really beautiful projects.

She used a corner punch, I chose this Martha Stewart corner punch that I purchased today as a set. It comes with a matching edge punch. I had a 50% of coupon and purchased it at Michael's Crafts. I noticed that not all corner punches will work for this project so you will have to look carefully to see if the one you like will work. This was really close to the pattern punch she used.


Here is the tag, I print a sheet of card stock with what ever sentiment I want, and make sure that each one is far enough apart so you can punch them out one at a time. If you have a stamp that will fit inside your oval punch you can just punch out the oval and stamp each one.

Next you can take any chalk or ink and go around the edges, these are what I had on hand.
 
This is the oval punch I used, it is made by Fiskars.
 
I just punched the corner punch as many times as I could fit on my scarp paper as shown (you know how crazy I am for recycling those left over pieces of paper),  Leave a space between punches.
 
I cut the paper down the center and then cut each corner punch as seen above, then I trimmed a little off the bottoms and attached them to the ovals like so.


I love to put a foam square on the back of these and use them on a card or add them to a scrap book page. You can cut another oval and attach it to the back and make tags for gifts etc. I want to thank Moja papierowa kiaina for sharing this idea with me. I hope you make some of these out of your scraps and enjoy using them.

Marye Bird
passionatlycrafting.blogspot.com

We have a full house!

I am full for "Craft & Crop", if you have asked me to reserve a seat for you and you change your mind and will not be able to make it, please let me know so I can move someone from the waiting list to your spot. Here is what I have
Rita F.
Deniz A.
Buffy N.
Buffy's Friend
Sue P.
Pamela H.
Candi S.
Roxanne B.
If you wanted a seat and your name is not on the list, please email me so I can add you to the waiting list. I am looking forward to seeing you all and having our usual great time.

Marye Bird
passionatlycrafty.blogspot.com
bdmebird@yahoo.com

Monday, January 13, 2014

It's DONE!

These pages are dedicated to Mary Lynn, my good friend and instructor from Grace & Glory. Who recently did a lesson on this very subject.

Here ya go girls, it's done and ready for our "Craft & Crop" at the Bird House event for January 25th at my home. I have missed the last 3 months and am ready to get back to our time together. I am looking forward to see you all again and hearing what has been happening in your lives. These are the pages we will be creating together.

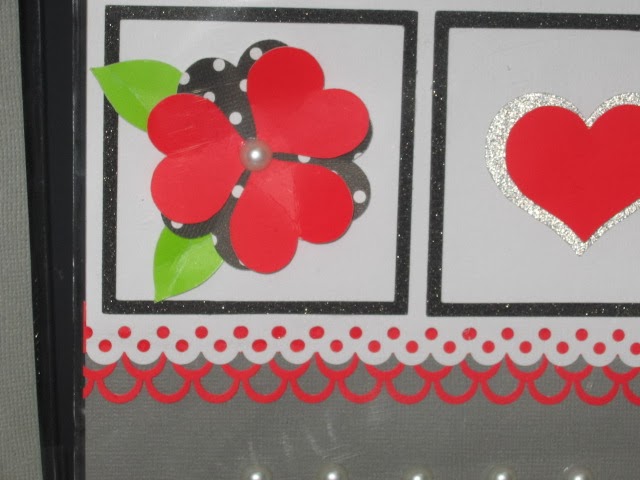
All of the shapes on these two pages were created with Accents Essentuals, Plantin Schoolbook and Flower Shoppe Cricut cartridges. The heart and scalloped edges were done with Fiskar punches and the checker board heart was created with multi colored squares and individually placed and attached to a heart. YES, I did this for each of you! This was a fun one.
 
This is called a end cap cut and can be done with a variety of shapes at each end. The only cartridge I have seen this on is the Plantin Schoolbook, you can put words in the center like here or make them plain like the shadow cut I have it layered on. Then you can print and add your own titles or sentiments
 
These flowers were cut from a Project Cartridge from Cricut called "Flower Shoppe"
It has some wonderful cuts that allow you to get really cute 3-D flowers and leaves. I cut and layered some of them and then added embellishments and brads. The leaves behind them was cut out of silver glitter paper from "Stretch Your Imagination using the gray "Flip" Button to get it to curve in the other direction.
 
 
I did the same at the bottom, just did the arrangement  of the flowers different.
 
And for all those who don't know me I love to give the glory to God, because without him none of this is possible. This sentiment comes from his word 1 John 4:8, He who does not love does not know God, for God is love. I printed it and changed the font, then cut it out and used (I am a recycle nut) red, silver and black glitter scraps from the pages I created.
These hearts and flowers made from hearts were cut from Plantin Schoolbook and the leaves from Flower Shoppe cartridges. and I added a pearl sticker from Jo-Ann's. Oh, I got the heart and lace ribbon there too.
 

I did the same thing here just changed the colors of paper for the hearts. These were also cut from scrap paper.
 
I hope you enjoy these pages, I had a blast getting back into crafting. If you would like to join us email me.
 
Marye Bird
passionaltycrafty.blogspot.com


Wednesday, January 8, 2014

OK, Here is our Card for January 25th "Craft & Crop" at the Bird House

This is called a Tri-Shutter card and was very easy to re create. A thank you to Carol Matthews for posting this project. I have wanted to make this type of card. Most posts did not give instructions and the few I found I could not figure out how they did it. This was so great!
 
You are going to really enjoy this one girls.
 
Knowing how much I love to use scripture when I create, I used God's explanation of what Love is from I Corinthians 13:4
 
And my second sentiment I put on the last flap was cool too.
thanks again Carol.
 
 
This is the front flap that is the first thing you see when you take the card from the envelope. Yes, these fit in envelope.
 
This is actually what the card looks like when taken out of envelope.
 
Making a Tri-Shutter Card
Take a 5 ½” X 12” piece of card stock, score at 2” and 4” turn it over and score at 2” and 4” leaving a 4” section in the middle. Then turn the paper vertically, measure in 1 ½” and cut between the 2” scores. Do it again on the other side.
Now all you have to do is decorate. The finished card will fit in a regular size envelope making it easy to mail or give to someone special.
Here are the cut sizes you will need to decorate your card:
2 pieces cut at 1 ¾” X 5 ¼”
2 pieces cut at 1 ¾” X 2 ¼”
2 pieces cut at 3 ¾” X 1 ¼”
4 pieces cut at 1 ¼” X 1 ¾”
1 piece cut the color of your choice at 3 ¾” X2 ¼” as a mat.
Cut 1 piece of white at 3 ½” X 2” for your sentiment in center of card. (I used I Corinthians 13:4).
Using Plantin Schoolbook Cricut Cartridge, cut the letters “LOVE” once with shadow button and black card stock and once in pink at regular cut at 1 ½” each. Layer them and put on front flap of card. On back flap I put another sentiment (“I hope today finds you feeling as loved as you are”.) I framed this phrase in black. Then put a large red heart shaped brad above it.
 
If you would like to join us email me at bdmebird@yahoo.com
Marye Bird
passionatlycrafty.blogspot.com